The DIY Webcam Microscope movement becomes global – from Switzerland, Indonesia, Taiwan and finally, to Singapore! DIYbio SG attempted to create their very own DIYbio SG Webcam Microscope on Wednesday evening, 11 June 2014. Building a low-cost webcam microscope allows us to embody citizen scientists’ spirits along with the many other ways one can possibly embrace this DIY, DIWO, DIT movement.
Materials
Logitech Webcam (unsure of model)
3 bolts
6 nuts
1 empty transparent box and lid
Cardboard box
Tools
Electric Drill
Varied sized Open Eye Screw
Screwdrivers
Pliers (either slip-joint of fixedjoint however, a long-nose plier is suitable)
Laptop (for checking usability of bought webcam)
Needles
Building of DIY Webcam Microscope – SG style:

All is good with Logitech Webcam!

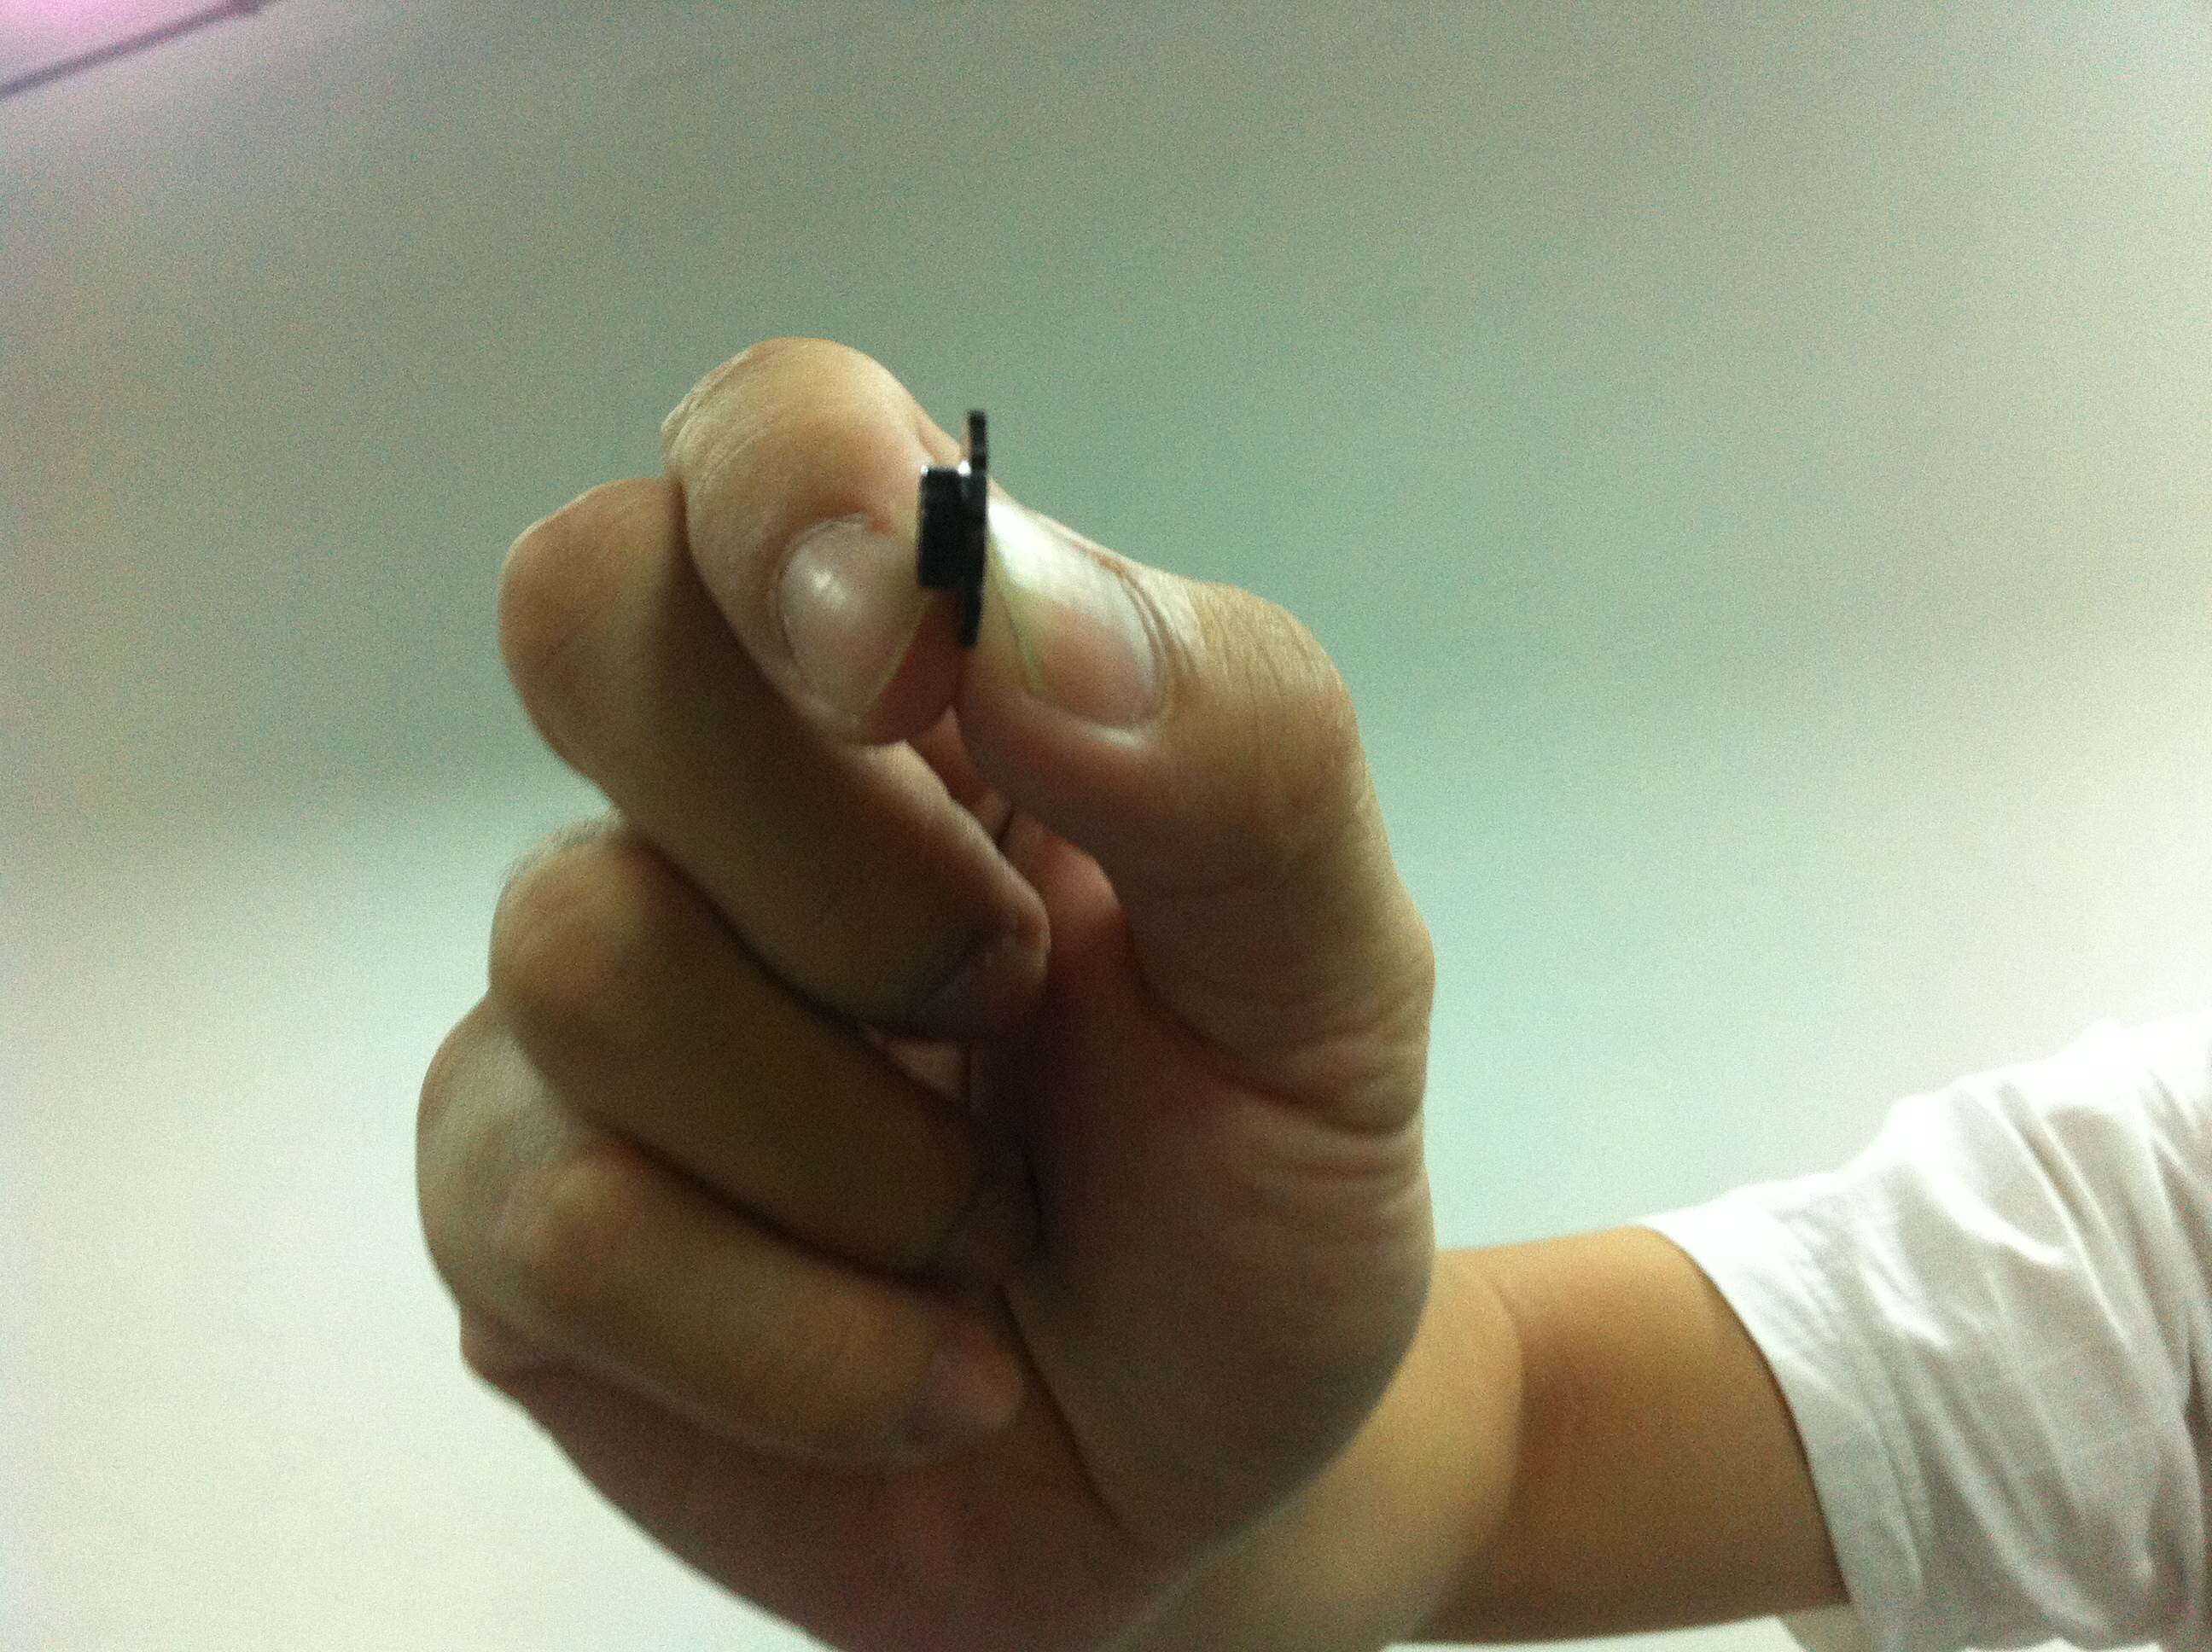
The first step was to reverse the lens embedded in the webcam. Unscrew the camera and carefully pry out the embedded lens with a pair of pliers, we recommend a pair of needle-nose pliers. If not, use a needle like we did.
Note: Be careful not to destroy the image sensor.

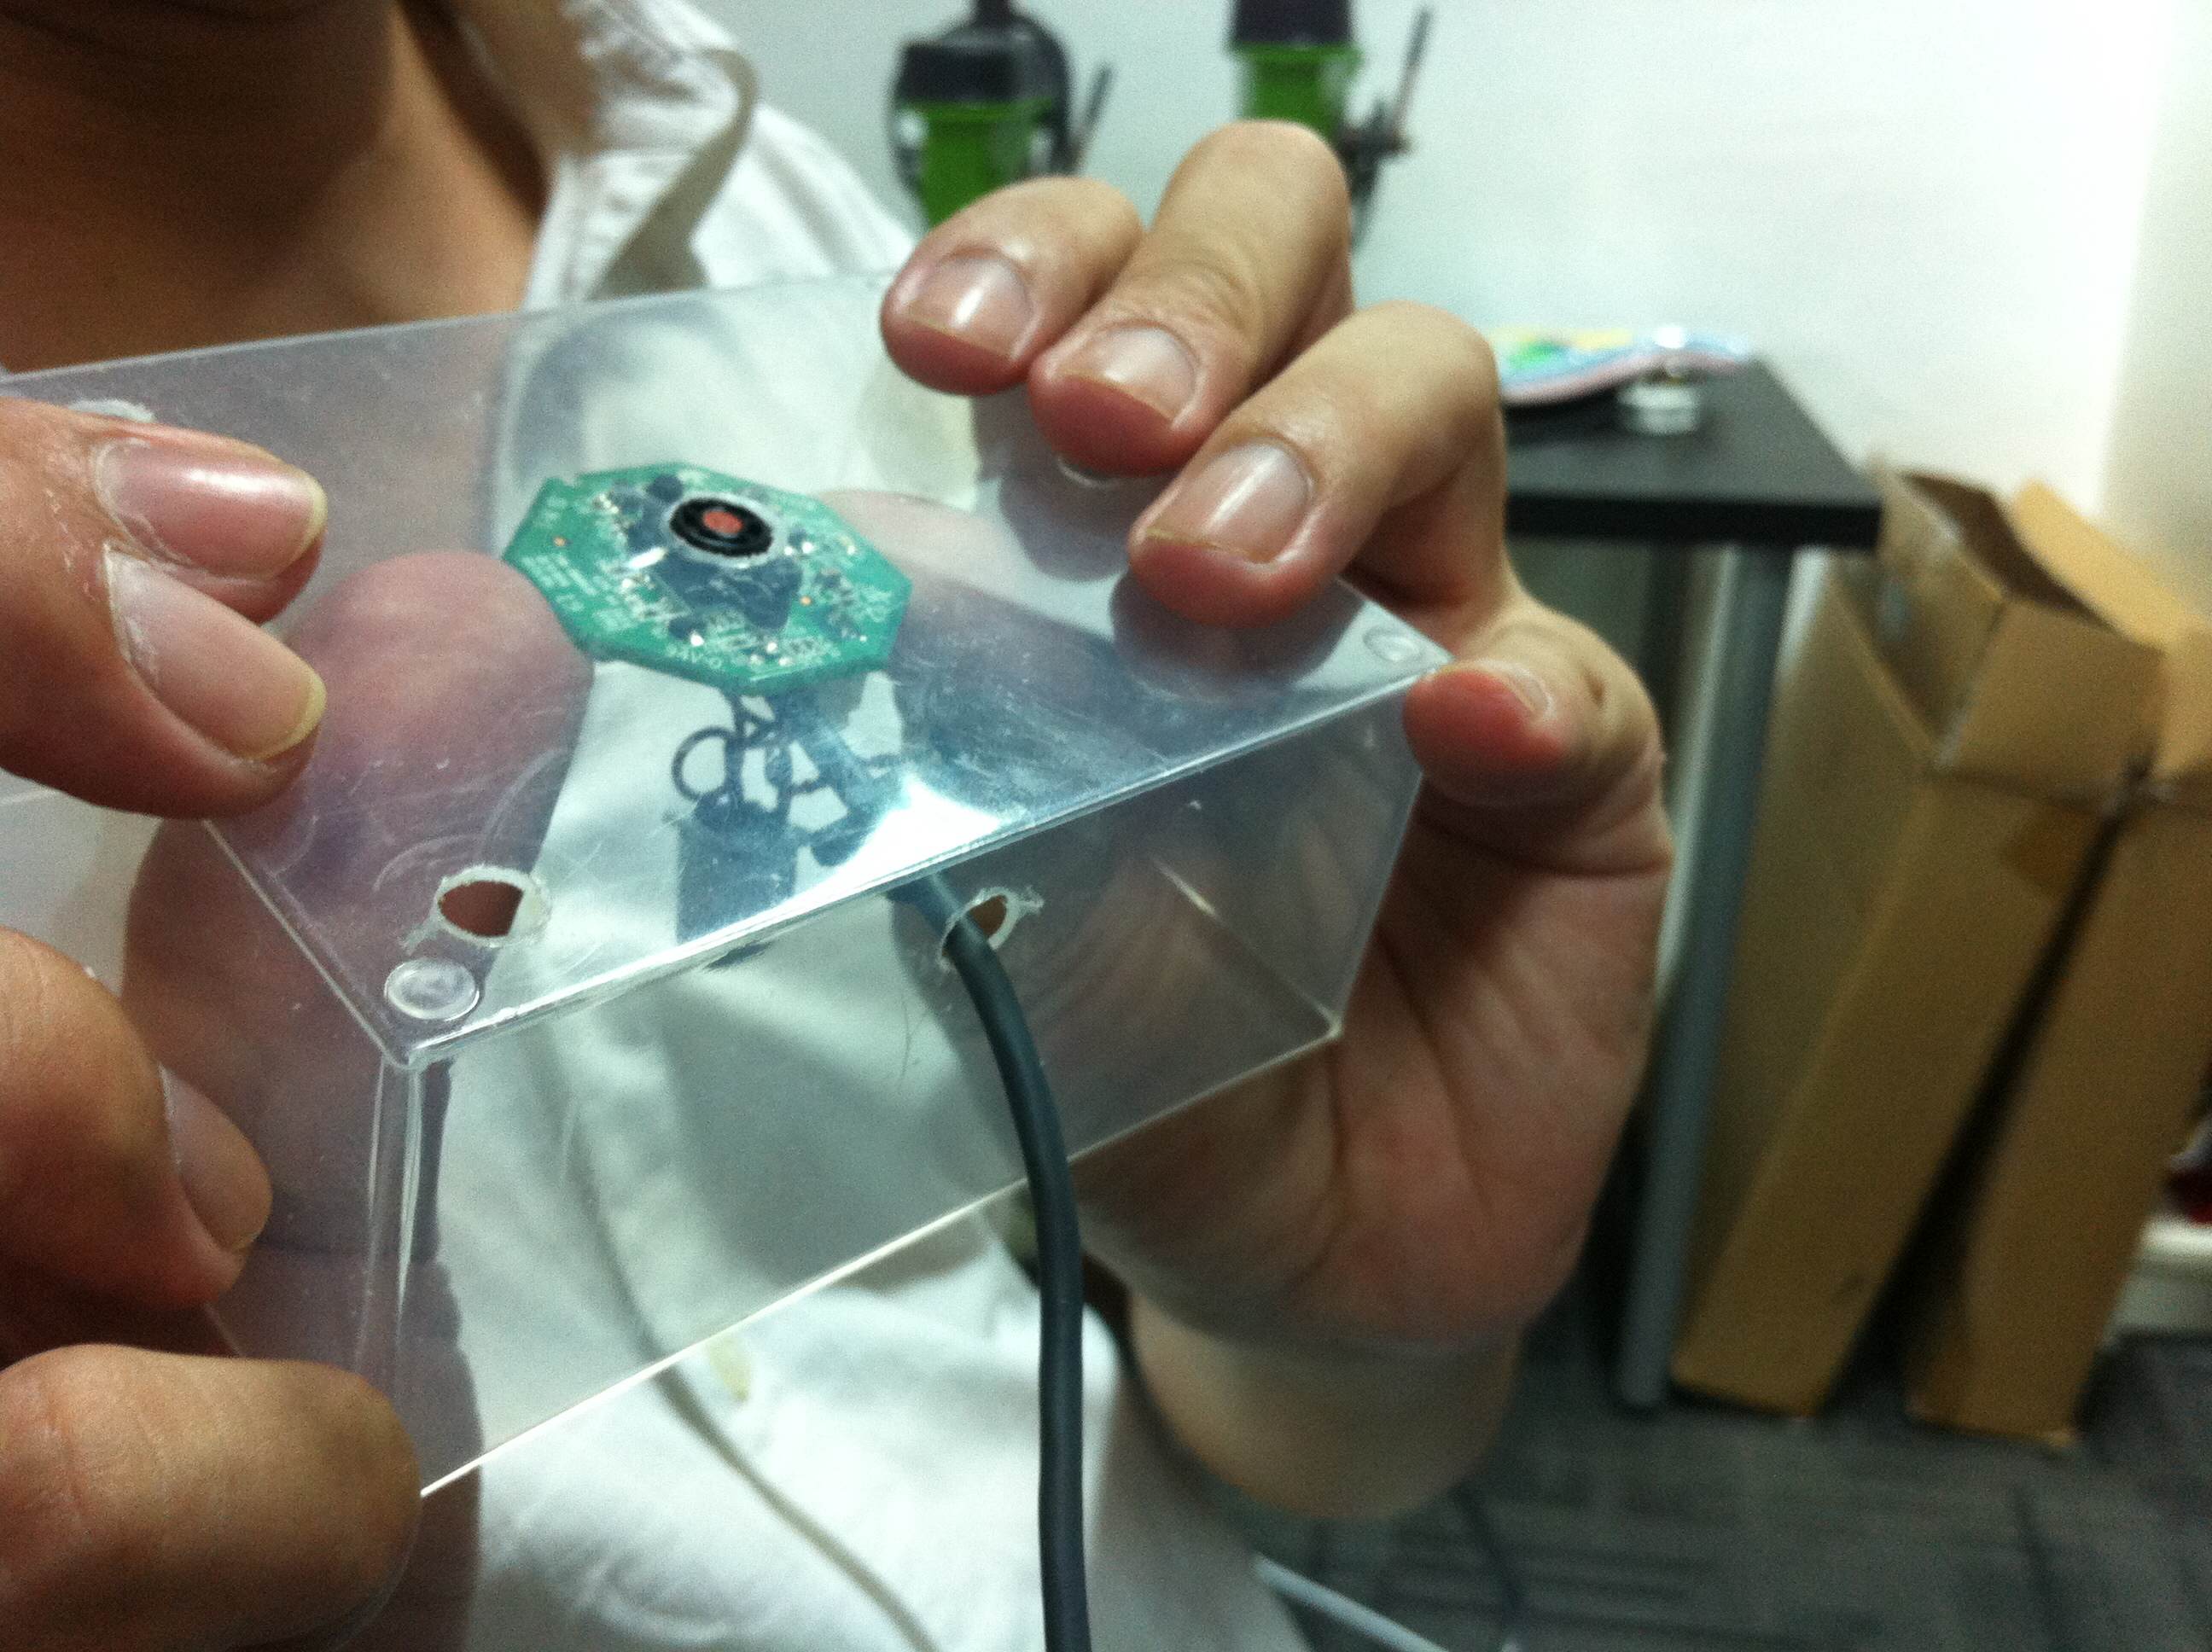
The second step required us to build a structure which supports the reversed-lens and its supporting circuitry.
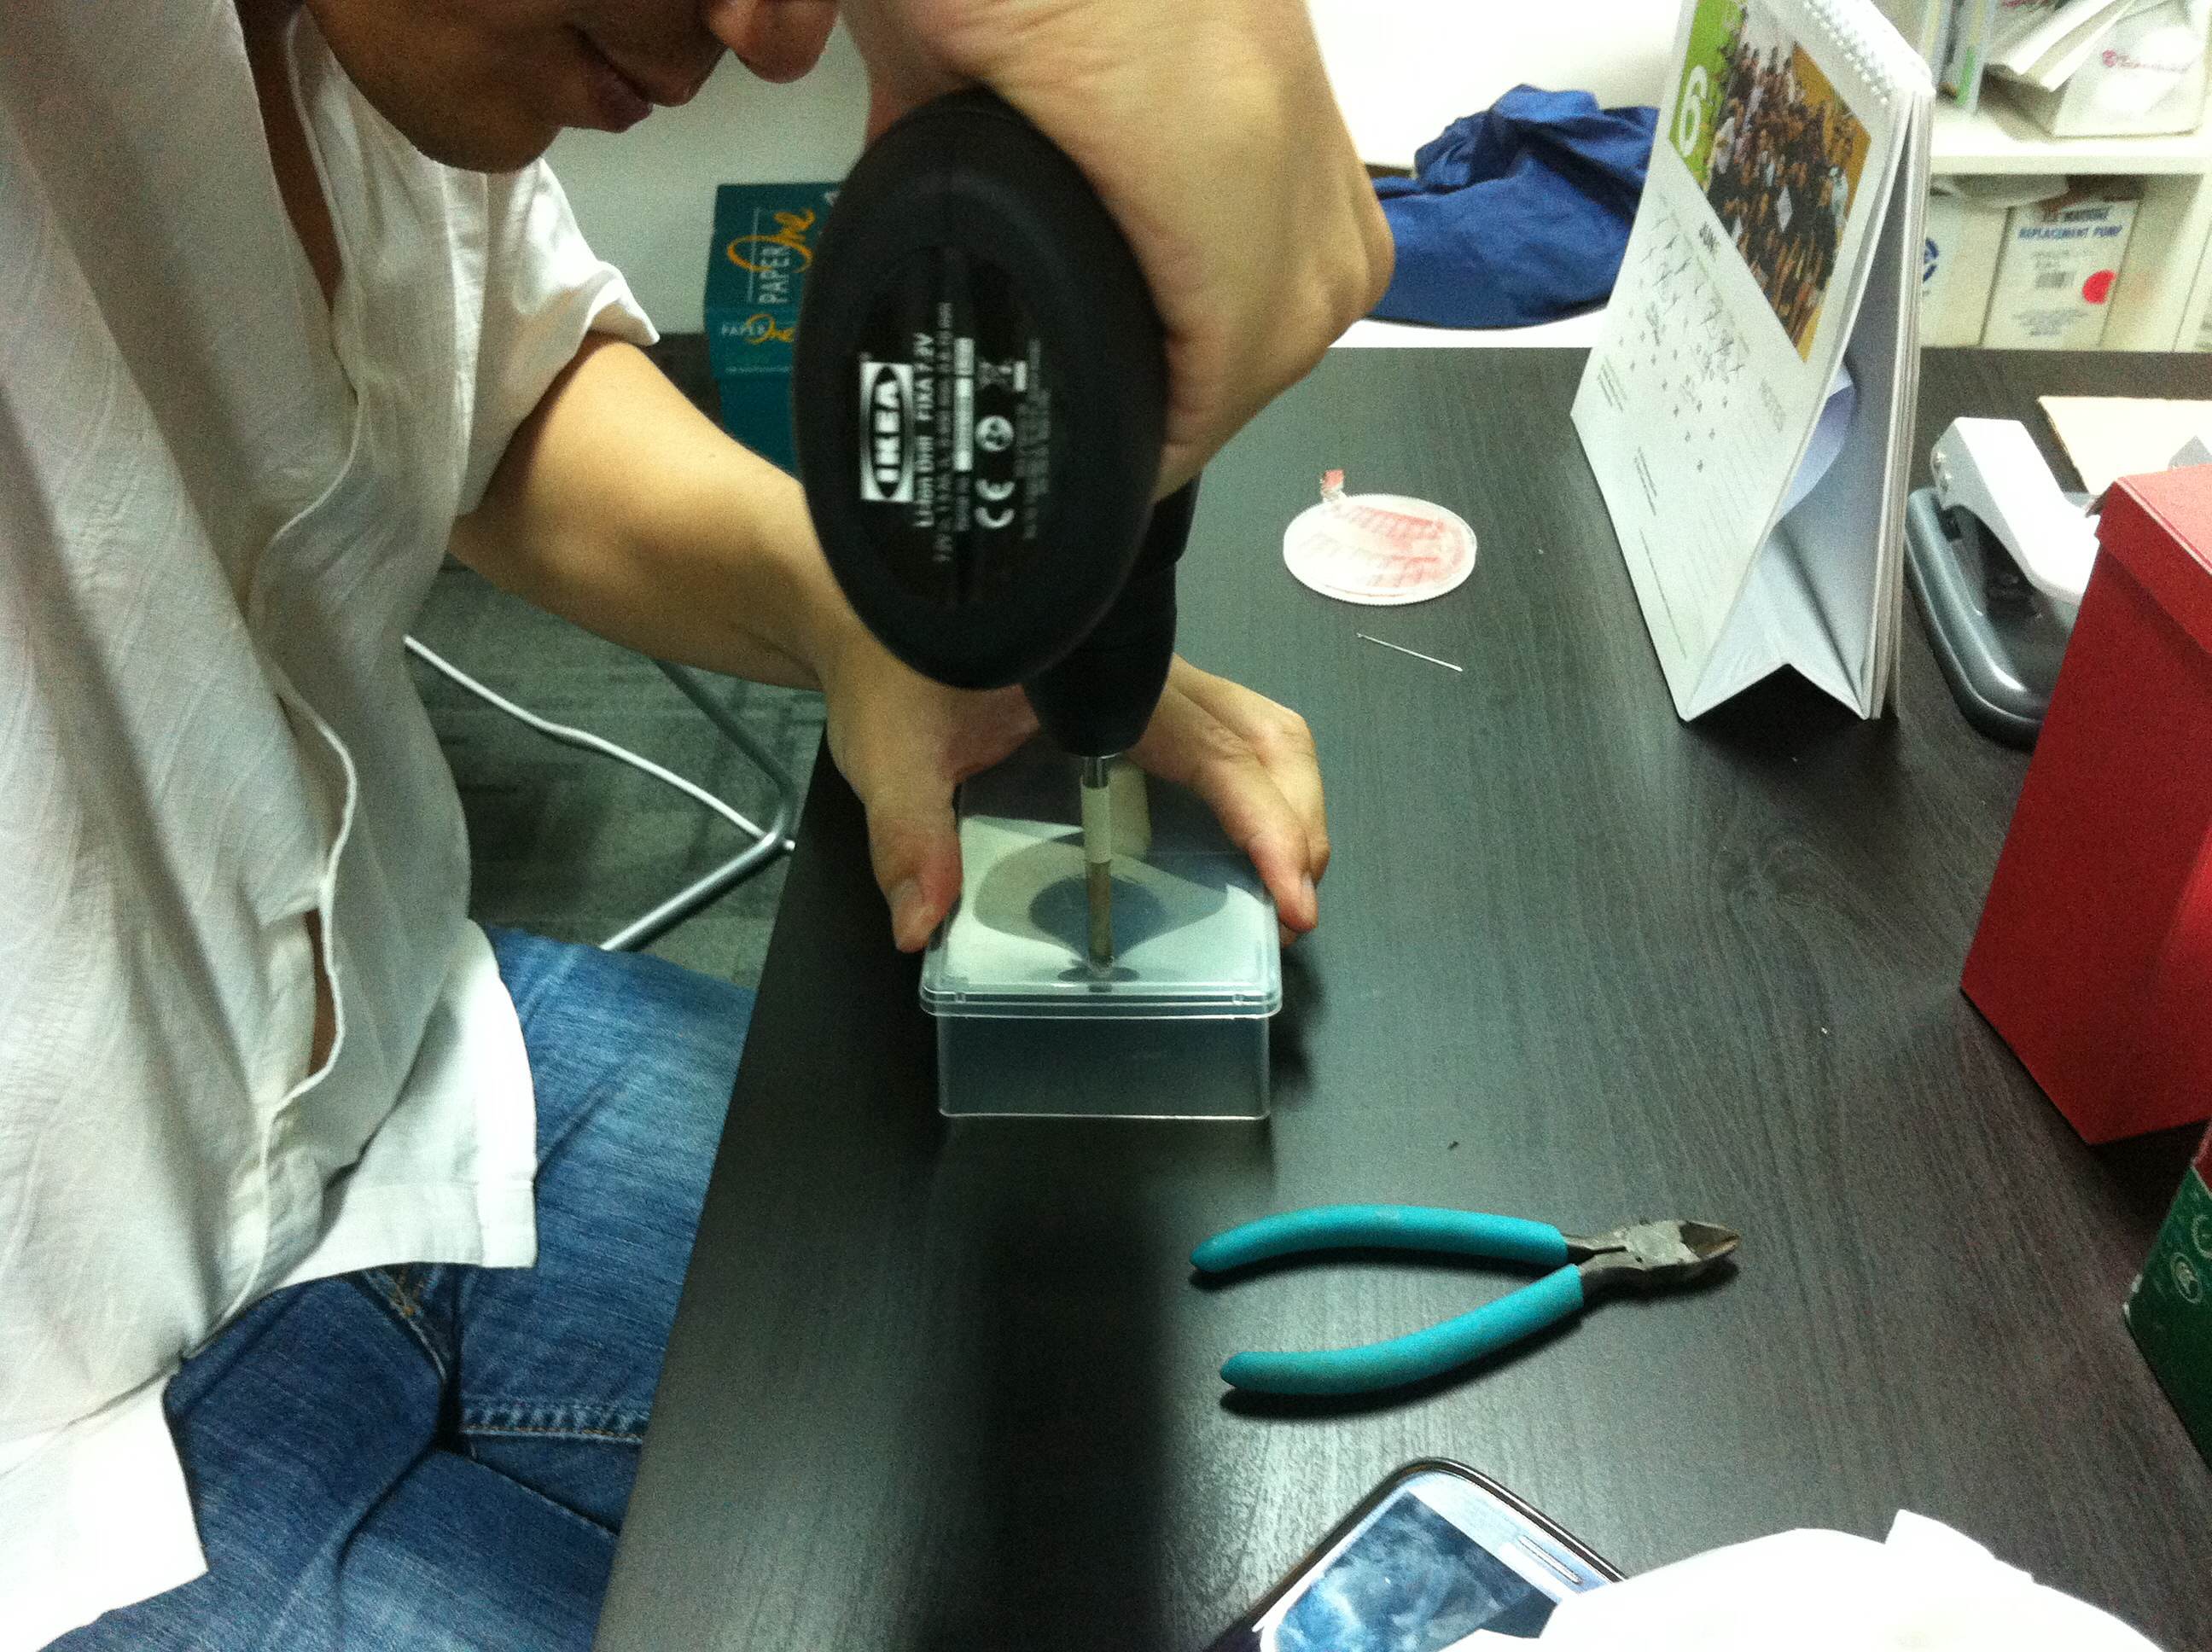
Eugene, “This IKEA drill is actually is worth its price.”
Next, we used open-eye screws to drill holes into our empty plastic box. As we did not have wing nuts, we had to rethink of alternatives which replicate the mechanics of a wing nut in order for us to create an adjustable microscope stage.

The team thought of using 3 sets of 2 nuts and a bolt to move the stage up and down the shank of our bolts. The bolts were held in place by 2 nuts. It might not result in the smoothest movement of the stage but it was what we could do without the convenience of the wing nut.
On our first attempt, we realise our webcam was not working the way we would imagine a webcam microscope to work. The image was not magnified when the sample was brought close to the webcam. An image of the colony of mould in Eugene’s Lipton tea could not be captured with our DIY webcam microscope.


Alexander found out that we have not reversed the webcam lens. It may be good to make a note (paste a sticker, do a marking or spit or not) so that you will not lose track of which side you will need in a reversed-lens webcam microscope.
And it finally worked!


Close-up image of a Yellow LED

The next trail of DIY Webcam Microscope will include a Sony PS3 eye which Lifepatch has recommended to us when making a Webcam Microscope as it has a faster frame rate – “120 frames per second”. A customized SG Webcam Microscope PCB with appropriate number of LED lights will also be ideal for future hacking/making/playing among DIYbio SG members. Till then!
DIY Webcam Microscopy – DIYbio SG:
Host venue:
Wiscloud Technology Pte. Ltd. At Oxybiz Hub 2
Photos:
Cindy Lin
Makers/Hackers/Builders/Players:
Alexander Yang
Eugene Ng
Wee Kiang Yeo
Pauline Ng
Andreas Schlegel
Samanatha Kjm
Huey Ting
Kate Lu
Adeline Seah
Cindy Lin
There will be a few more sessions to make more microscopes (successful or not really doesn’t matter) and we hope that anyone who is interested or can make it the next time join us in more hacking, making, sharing and playing DIY, DIWO, DIT style!
